- Lighting design service
- Language
- Account My account


System Cables
The in-lite system works on 12V low-voltage power. This means that the regular 230V electricity coming out of a wall outlet is converted into 12V through a transformer. This, combined with our wide selection of cables and cable connectors, makes it easy to set up your own outdoor lighting.

-
Self-repairing
-
Optimal conduction through pure copper
-
Optimal flexibility, even with low temperatures
-
2 cores
Our lighting cables are equipped with a flexible outer layer. The contact points of our EASY-LOCK are designed for this and can effortlessly pierce through this outer layer when mounting. The size of the cable guide is also adapted to the size of the cable, which allows it to hold it exactly in place. Good contact guarantees the optimum conduction of current for your outdoor lighting. This is why we urge you to use in-lite cables with our outdoor lights, as we can’t guarantee the same results with lower-quality cables.
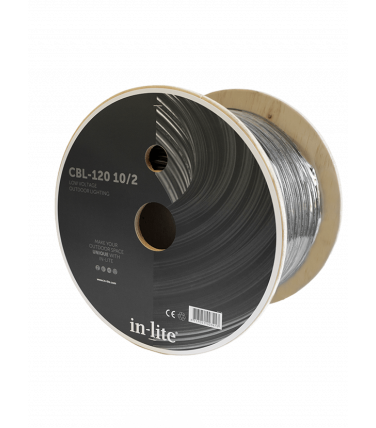
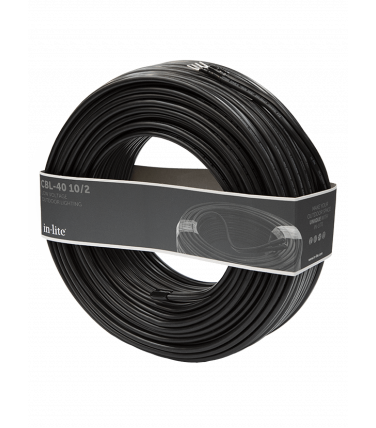
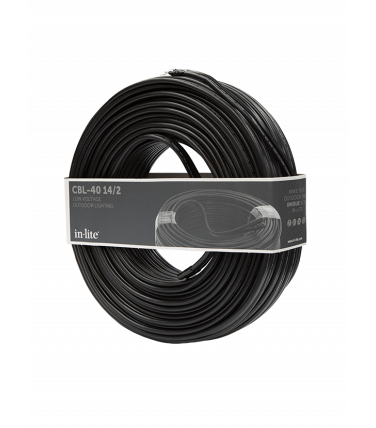
System cable 10/2
There are three types of cables available at in-lite. The first is our low-voltage 10/2 cable. This 12-volt 2-core cable can be recognized by the 10AWG inscription and 2 x 5.26mm2. This cable has a width of 0,4"/10mm, with a maximum cable length (when placed linear) of 3149.61″/80 meters.
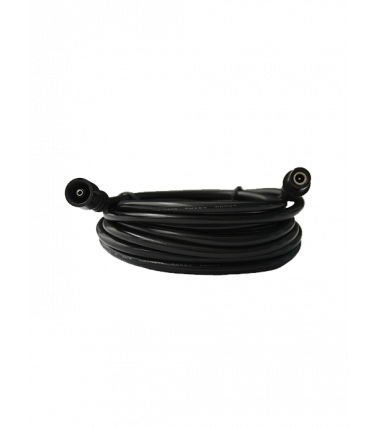
The 10/2 cable is supplied as a bundle with CABLE CAPS.
System cable 12/2
The last is our low-voltage 12/2 cable. This 12-volt 2-core cable can be recognized by the 14AWG inscription. This cable has a maximum cable length (when placed linear) of 1578.40"/40 meters.
The 12/2 cable is supplied as a bundle with CABLE CAPS.
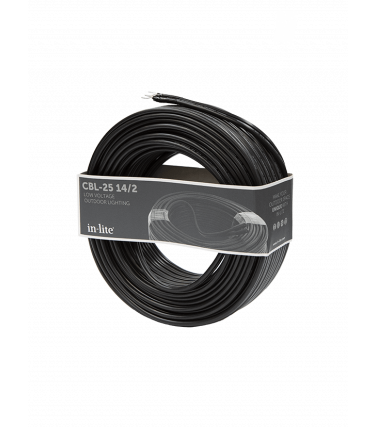
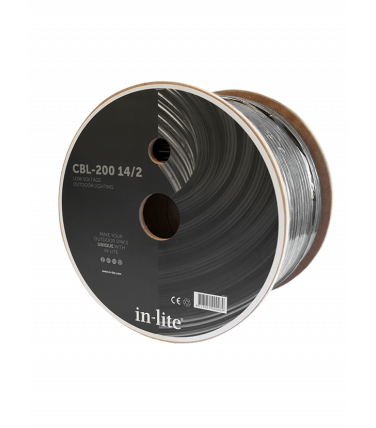
System cable 14/2
The last is our low-voltage 14/2 cable. This 12-volt 2-core cable can be recognized by the 14AWG inscription. This cable has a maximum cable length (when placed linear) of 1578.40"/40 meters.
The 14/2 cable is supplied as a bundle with CABLE CAPS.
Designing your cable plan
Just like with your lighting plan, a cable plan starts with a sketch. Whether you’re creating a cable plan for your current backyard or one that is still in development, a sketch will greatly help the design process. A cable plan will demonstrate where you should put all of the cables before you install them. This prevents any cables from clashing with one another, or with other objects in your backyard. All of this will ensure optimum performance from your outdoor lighting, and especially optimum safety.
For your sketch, keep in mind:
- Calculate the total voltage of your lighting design
- How many transformers will you need?
Once your rough sketch is completed, it is time to add the ground cables to the plan. The transformer is the starting point for this. We recommend installing the transformer indoors, such as in a shed or covered area. With this in place, you draw all the cables from this starting point to the fixtures around your outdoor space. It doesn’t matter where your cable ends, thanks to the cable caps available at in-lite. Is your transformer positioned in an uncovered area? Then we recommend placing it at least 50cm above the ground, and using a .
 Cable outlets
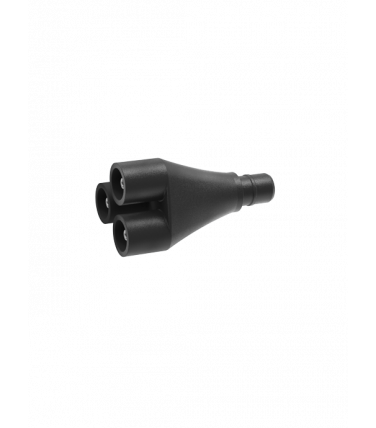
Depending on the number of outdoor lights you want to install, and their VA values, you’ll need to select a HUB (transformer). At in-lite, we have the HUB-50, HUB-100, and SMART HUB-150. The HUB-50 and HUB-100 offer two cable outlets, so you can install two separate cables in your backyard. The SMART HUB-150 offers three cable outlets, all of which can be individually operated and adjusted.
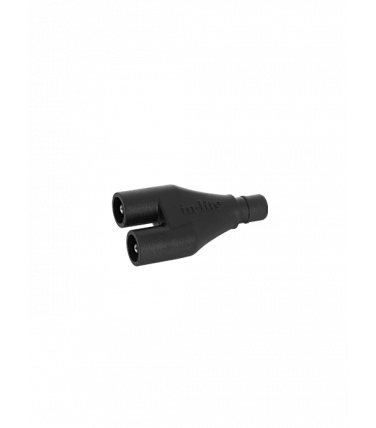
 Cable brances
When drawing your cable pathways, you may find that a cable isn’t long enough. If this is the case, you can add a cable branch to get more out of your cables. Avoid using too many cable branches, but if needed, we recommend using the CC-2 cable connector.
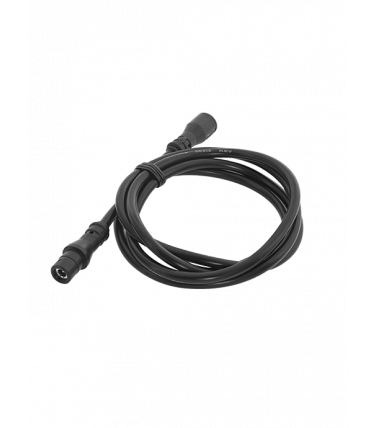
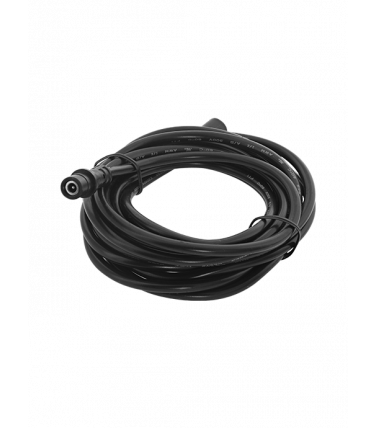
 Extention cables
These are used to extend the distance of a cable. This could be between a fixture and the system cable or a light sensor and a transformer; it’s up to you. At in-lite, we have three different lengths of extension cables available: 3ft/1m, 6ft/2m, and 9ft/3m. Check the distance you require and purchase accordingly. These extension cables are ideal for wall fixtures that are difficult to reach with your main cable.
Frequently asked questions
Why does the 5-year warranty on fixtures require in-lite cables to be used?
in-lite is a high-quality brand that offers only the best products for our customers. We also offer a 5-year warranty on all of these products. Defective products can be returned for inspection and then either repaired or replaced. More complex issues can even be solved on-site.
However, we can only guarantee this service if the system is built entirely from in-lite products. This is because poorly functioning, defective, or ‘strange’ products can have an impact on other products, or even the entire system. If a system consists entirely of in-lite products, we can almost always find the cause of a problem and fix it. If products bought elsewhere are used, this cannot always happen, and we therefore cannot offer service or warranty for resulting issues.
How do I connect the cable to the transformer?
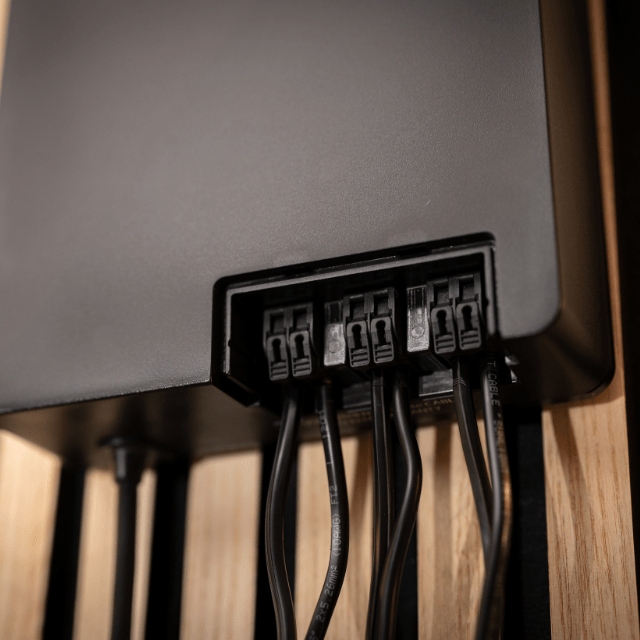
The HUB-50 and HUB-100 are equipped with two easy connection points, where you can simply click-connect cables to them. Cut a few centimeters off of each cable end and strip approximately 0.3"/8mm from each end using cable stripping pliers. Then twist the copper wires together so that no loose wires are sticking out. Click the Easy-Connect clip of the cable entry upwards, and place one end into the entry point. Click the cable into place by pushing the Easy-Connect clip down, and gently pull on it to confirm that it is secure. Repeat this process with the other end of the cable. If desired, you can then connect a second cable to the transformer. Both cables are controlled together by the transformer.
The SMART HUB-150 is equipped with 3 easy-click connection points. This allows you to connect a second or even third cable to the transformer. The cables can be controlled separately through the in-lite app. Check out the manual for detailed instructions on this. To connect the cable to CB-type transformers, you must use cable lugs, which are always supplied with this type of transformer.
Please note: Have you purchased an in-lite cable with cable lugs mounted to it and wish to connect it to the HUB-50/100 or SMART HUB-150? Cut off the cable lugs completely and strip the cable as described above, or check the transformer manual for more information.
Would you prefer to have an expert create your cable plan?
At in-lite, we can create a personalized cable plan for your outdoor space. Simply send over all of the required information and preferences, and our experts will do it all for you. We can also create a lighting plan to accompany it.